
Mace training, often called macebell training, brings this ancient tool into today’s fitness routines for a full-body challenge that’s tough to beat. If you’re into CrossFit, adding mace work can freshen up your workouts, build real-world strength, and give your mobility a boost. Here’s my in-depth look at how to work mace training into your CrossFit regimen.
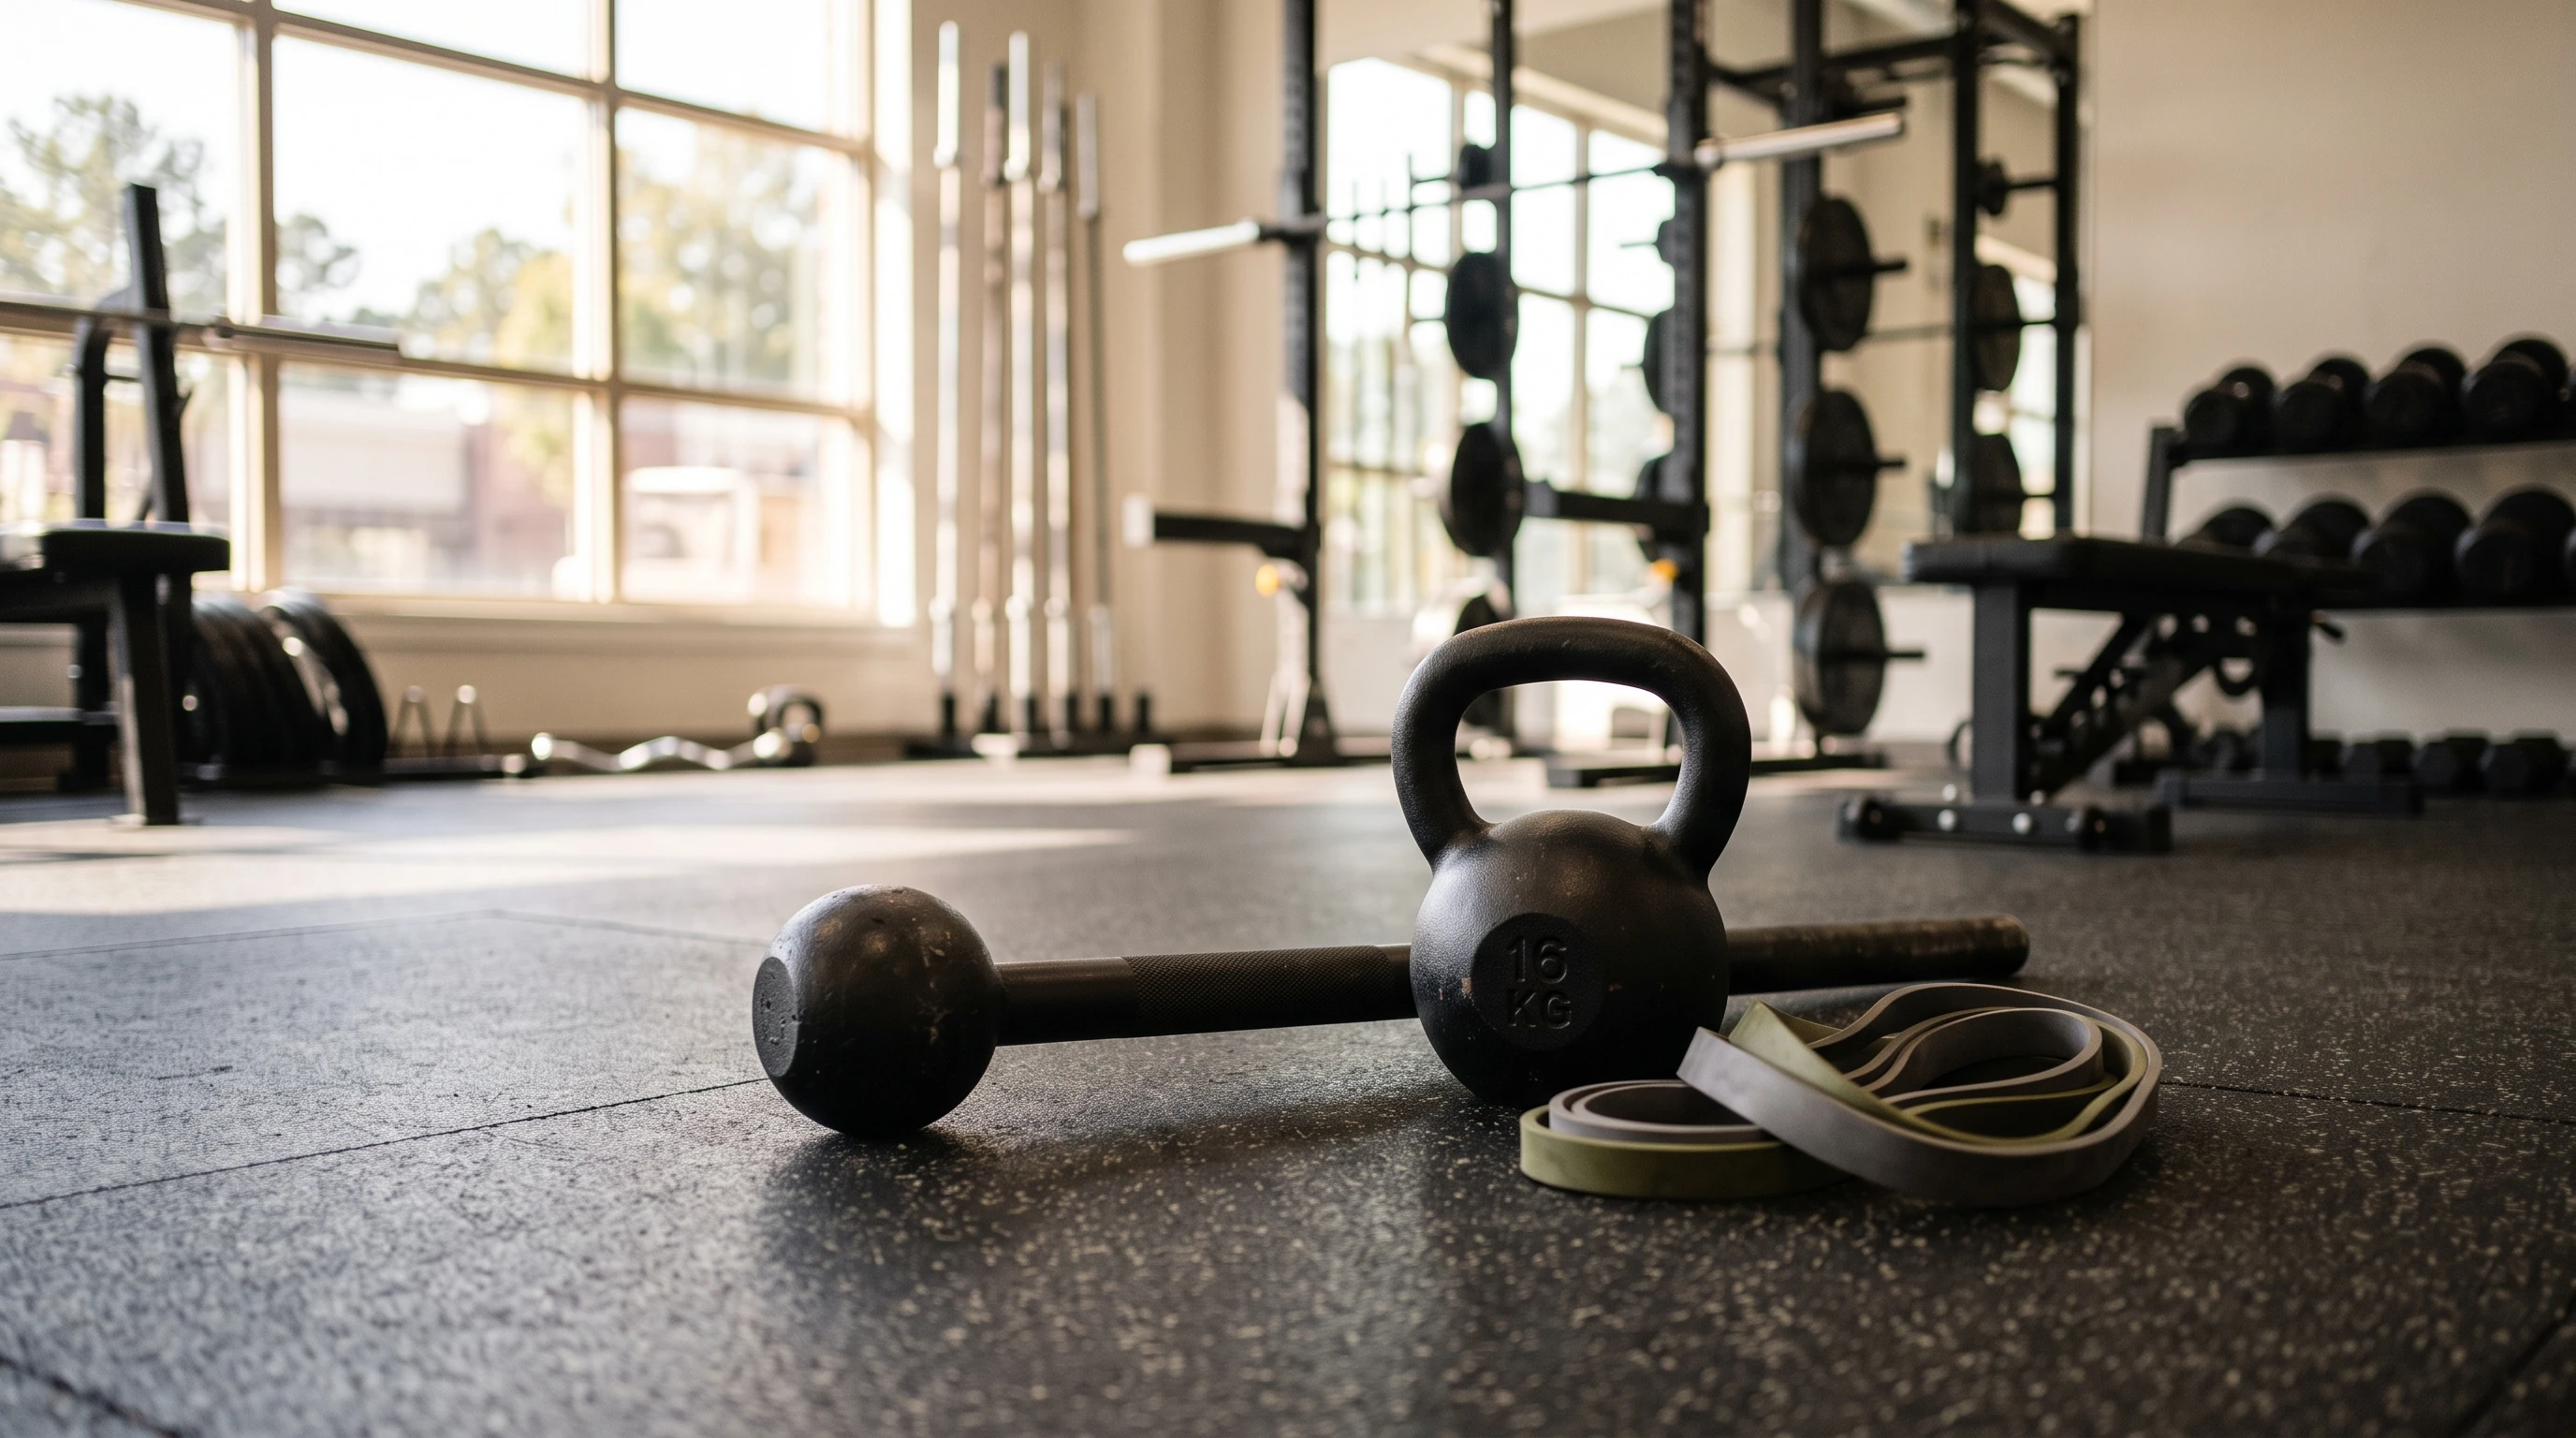
Why Add Mace Training to CrossFit?
The mace might look simple, with a long handle and a weighted ball at the end, but don’t let its appearance fool you. It’s an excellent tool for challenging muscles in ways barbells, dumbbells, or kettlebells sometimes just can’t. Mace training centers around swinging, pressing, and rotating movements that target grip, shoulders, core, and stabilizer muscles all in one go.
I first stumbled upon macebells while trying to find ways to fix my stiff shoulders and shake up my boring upperbody routines. After adding a few rounds of mace swings, I noticed improvements in grip strength, trunk stability, and even overhead mobility. It pairs surprisingly well with the high-intensity, functional style CrossFit is known for.
CrossFit workouts usually focus on multi joint moves, explosiveness, and intensity. The mace fits right in, especially if you’re wanting to challenge smaller support muscles, bulletproof your shoulders, and add new flavor to your skillset. More CrossFit boxes are adding macebells to their equipment piles for good reason.
Mace Training Basics: What You Need to Know
If you’re new here, macebells (sometimes called steelmaces) range in weight from about 7 lbs up to 25 lbs or more. The uneven weight distribution makes even light ones feel challenging, especially as you get the mace moving far from your body.
The main moves are pretty simple to start:
- 360s and 10-to-2 swings: Classic mace movements for shoulders, grip, and lats. You swing the mace around your head, keeping arms straight and the core tight. Start slow and build control over that range of motion for best results.
- Mace presses: Overhead or chest-level presses that light up both stabilizers and your core, while teaching you to manage an offset mass.
- Offset squats and lunges: Holding the mace offcenter makes your hips, glutes, and core work that much harder to keep you steady and upright.
- Rows and rotational work: Use the uneven load to get creative with rows, twists, and antirotation drills, stepping up your core challenge.
Even after years of training, picking up a 10 or 15 lbs mace still feels demanding in a way my 35 lbs kettlebell never does. If you’re new, lighter is better until you build up some technique. Don’t be shocked if your shoulders, wrists, and back are sore afterward. It’s the sort of productive sore that shows you’ve worked new muscles.
How to Incorporate Mace into Your CrossFit Workouts
Mace training fits as a warm-up tool, a strength builder, or a brutal finisher. I like to mix it in for shoulder prep before overhead lifting days, use it for core work on active recovery sessions, or substitute traditional moves for mace variations in a METCON or AMRAP. Here are some ideas that have worked in my own programming:
- Warm-up: Mace 360s, halos, or offset carries are great for loosening shoulders and priming your core before barbell lifts.
- Strength blocks: Replace kettlebell presses with mace overhead presses or rows. Each rep demands more control, and the uneven load wakes up neglected muscles.
- WOD finishers: Do 1-3 rounds of max-rep mace slams, walking lunges, or rotational swings to spike your heart rate and stress those stabilizers right at the end.
- Skill and mobility work: Controlled, light mace swings can build both wrist and shoulder mobility. It’s perfect for active recovery or cool downs.
Mixing mace work with traditional CrossFit movements isn’t just good for variety. It also helps bulletproof your joints and works muscles that often get overlooked in barbell-only sessions.
Stuff to Think About Before You Grab a Macebell
Mace training doesn’t line up exactly with slinging a kettlebell or cleaning a barbell. There are a few practical things to remember if you want to train safely and get the best results:
- Start light: Even experienced lifters feel taxed by maces in unexpected ways. A 10- or 15-pound mace is all you need to start, especially if you’re swinging or twisting the load far from your body.
- Focus on form: Good technique keeps you injury-free and gets your joints moving well. Watch some videos, slow things down, and really dial in your swing mechanics. Check out Onnit Academy’s steel mace tutorials for top instruction.
- Grip strength fatigue: Mace work fires up your forearms and hands, so take it easy until you get used to it. Going overboard can burn out your grip for big lifts later.
- Room to move: Be sure you have enough space. A flying mace is dangerous; give yourself plenty of room above and all around before you get going.
- Wrist mobility and health: Mace training puts wrists in new positions. If you’ve had wrist injuries before, be patient, start slow, and choose lighter weights to stay safe.
Start Light and Focus on Control
One beginner mistake I see a lot (yep, I did this too) is grabbing the heaviest mace in the gym thinking it’s no big deal. All the weight is at the end, so you work much harder than you expect. Stay humble, give yourself time, and ramp up slowly to let your joints and grip adjust.
Space, Grip, and Joint Considerations
Since mace training involves swinging a long object, open space is key. I always clear a perimeter in my garage gym or at the CrossFit box before starting. Safety comes first; no overhead fans, wires, or nearby lifters. It isn’t worth risking a mishap or scare during a swing.
Grip fatigue is real. When you first start adding mace work, you’ll notice your hands and forearms are taxed. This is a signal to ease up on highrep barbell pulls or heavy deadlifts right after. Allow your body to adapt and you’ll avoid overtraining those smaller muscles.
Programming Ideas: Getting Creative With Your Mace
Here are some of my favorite ways to slide mace work into my sessions:
- Warm-up circuit: Try 3 rounds of 12-15 light 360s, 12 offset lunges, and a 1-minute mace hold to prime your body for action.
- Strength superset: Alternate barbell cleans with 8-10 mace presses or rows to train stability and mix in some variety.
- Conditioning circuit: 10-minute AMRAP consisting of 10 mace slams, 15 pushups, and 10 wallballs. A true test for your full body and lungs.
- Loaded carry finisher: Hold the mace in front or across your back and walk for distance or time. This is especially useful for building antirotation strength.
Mix things up regularly. Sometimes just a couple rounds of 360s after a hard metcon are enough to loosen shoulders ahead of the next session. Let your body tell you how much to add as you get more comfortable with the mace.
Benefits You’ll Notice When You Add Mace to CrossFit
Lifters who stick with mace training report some awesome rewards. I saw more shoulder mobility, extra grip strength (handy for pullups and deadlifts), and a stronger, more resilient core. Doing offset and rotational moves works the little stabilizers you might ignore with straight barbell training.
- Better shoulder health: Swinging patterns help oil up shoulder joints and can reduce the stiffness that comes from heavy pressing cycles.
- Major grip strength boost: Your hands and forearms keep getting stronger, a big plus for gymnastics and barbell moves.
- Improved antirotational strength: Rotational, offset, and antirotation moves with a mace lead to more stability during heavy squats or Olympic lifts.
- More training variety: Keeps training interesting and motivates you to push through plateaus if you’re feeling stale or bored.
I also found mace training gave me another outlet to work on coordination and body awareness—a helpful transfer to everything from snatches to double unders.
Frequently Asked Questions
Here are a few questions I hear when I talk mace training with fellow CrossFit athletes:
Question: What weight should I start with on the mace?
Answer: Most people will do best starting at 10 or 15 lbs. The leverage makes it feel heavier than expected, especially with dynamic movements.
Question: Can I use the mace if I have shoulder issues?
Answer: Many lifters find that mace training helps shoulder mobility and joint health, but start slow and check in with a coach or physical therapist if you’ve had serious injuries before. Pay close attention to your form and comfort on each move.
Question: How do I add mace work if I’m short on time?
Answer: Use mace swings as part of your warmup, or throw in a simple circuit to finish your main workout. Even 5 to 10 minutes can leave you feeling refreshed and worked.
Wrapping Up and Taking Action
Mace training makes a solid addition to any CrossFit routine, offering a mix of strength, mobility, and grip benefits that traditional lifts don’t always cover. With the right approach, you set yourself up to challenge your body in new ways, build more resilient joints, and keep your workouts fresh. Next time you see a macebell at your box or gym, give it a try—you just might find your new favorite training tool.